Synology NAS Agent Package
The beszel agent can be installed onto any Synology NAS as a Synology package. This allows the agent to run on devices that may not support Docker, and provides a more integrated experience with Synology's DSM operating system.
The package and these docs were initially created by not-first and published on the SynoCommunity package repository with the help of their amazing maintainers. The code is open source and can be viewed on Github.
Before You Begin
Add the SynoCommunity Repository
If on DSM6 or below
Log into your NAS as administrator and go to:
- Main Menu → Package Center → Settings
- Set Trust Level to "Synology Inc. and trusted publishers"
In the Package Sources tab of Package Center Settings:
- Click Add
- Enter
SynoCommunityas Name - Enter
https://packages.synocommunity.com/as the Location - Click OK to validate
Installing the Beszel Agent Package
- Open Package Center and go to the Community tab
- Search for
beszel agent - Click Install
- Alternatively, you can download the latest version of the package from SynoCommunity and install it manually by clicking Manual Install in Package Center.
You will immediately be prompted with a configuration screen. See the next section for how to fill in these settings.
Configuring the Beszel Agent
During the installation process, you will be prompted to input configuration details for the beszel agent.
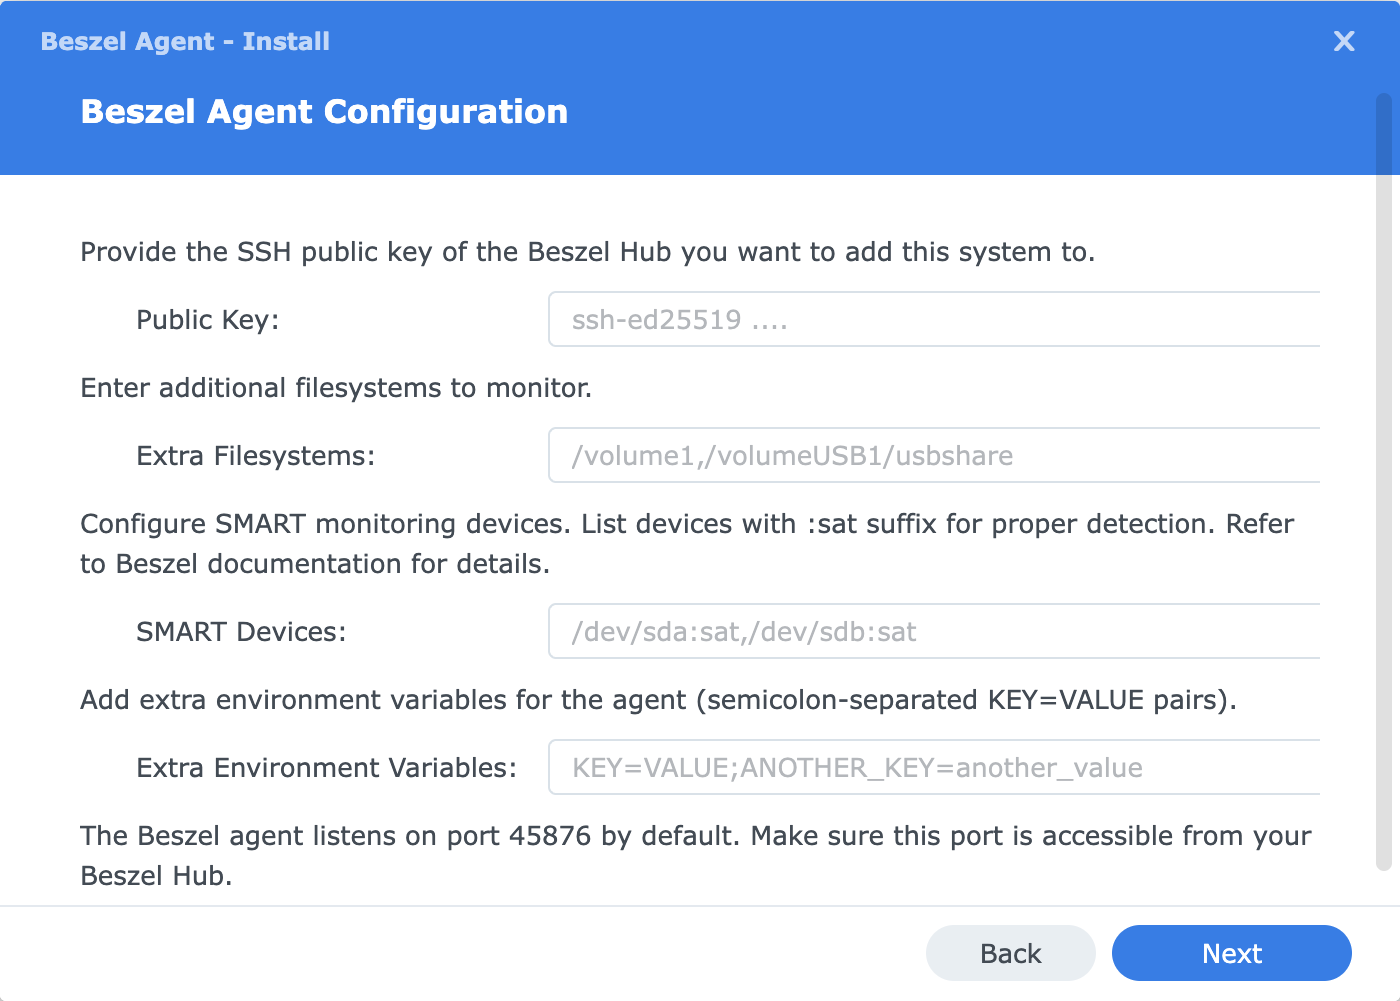
Public Key
Required. Enter your beszel agent's public key.
INFO
If you want to use websocket connection, specify the HUB_URL and TOKEN environment variables in the "Other Environment Variables" field below, and leave this field blank.
Filesystems to Monitor
Optional. Sets the value of the EXTRA_FILESYSTEMS environment variable. See the relevant documentation for more information.
This is advised, as by default the beszel agent only monitors the root filesystem (/), which may not include all disks on your NAS. Utilise the path format /volume{n}__Label to specify additional filesystems to monitor, separated by commas. If an external USB drive is connected, it can be specified using the /volumeUSB{n}/usbshare__Label format.
Example: /volume1__Main Storage,/volumeUSB1/usbshare__External Backup
SMART Monitoring
Optional. Sets the value of the ENABLE_SMART environment variable. See the relevant documentation for more information. Leave blank to disable SMART monitoring.
WARNING
After setting this variable, you will need to take some steps to ensure that the beszel agent has the necessary permissions to read SMART data from your drives.
- Install the
SynoCli Disk Toolspackage from the SynoCommunity repository. - Run the follow command on your NAS either an SSH session or via a manual task:
sed -i 's/package/root/g' /var/packages/beszel-agent/conf/privilege
This has to be done after installation and after each package update and beszel-agent must be restarted after changing the privilege file. A scheduled task can be used to automate this process on boot.
Specify your drives in the format /dev/sd{x}:sat, separated by commas. You can see your drives by running /usr/local/bin/smartctl --scan in the terminal of your NAS. The :sat suffix is required for beszel to be able to read SMART data, and should be included even if your drives are not of the sat type.
Example: /dev/sda:sat,/dev/sdb:sat,/dev/sdc:sat
/dev/sda:satfor Drive 1/dev/sdb:satfor Drive 2/dev/sdr:satis typically used for an external USB drive
INFO
Although your disks may not be of the sat type, this is seemingly the required format for Synology smartctl to be able to read SMART data 🤷.
Other Environment Variables
Optional. You can set any other environment variables to configure the agent as needed, in a semicolon-separated list.
For example, if you want to enable websocket connection instead of the default SSH, you can set HUB_URL=<url>;TOKEN=<token> here.